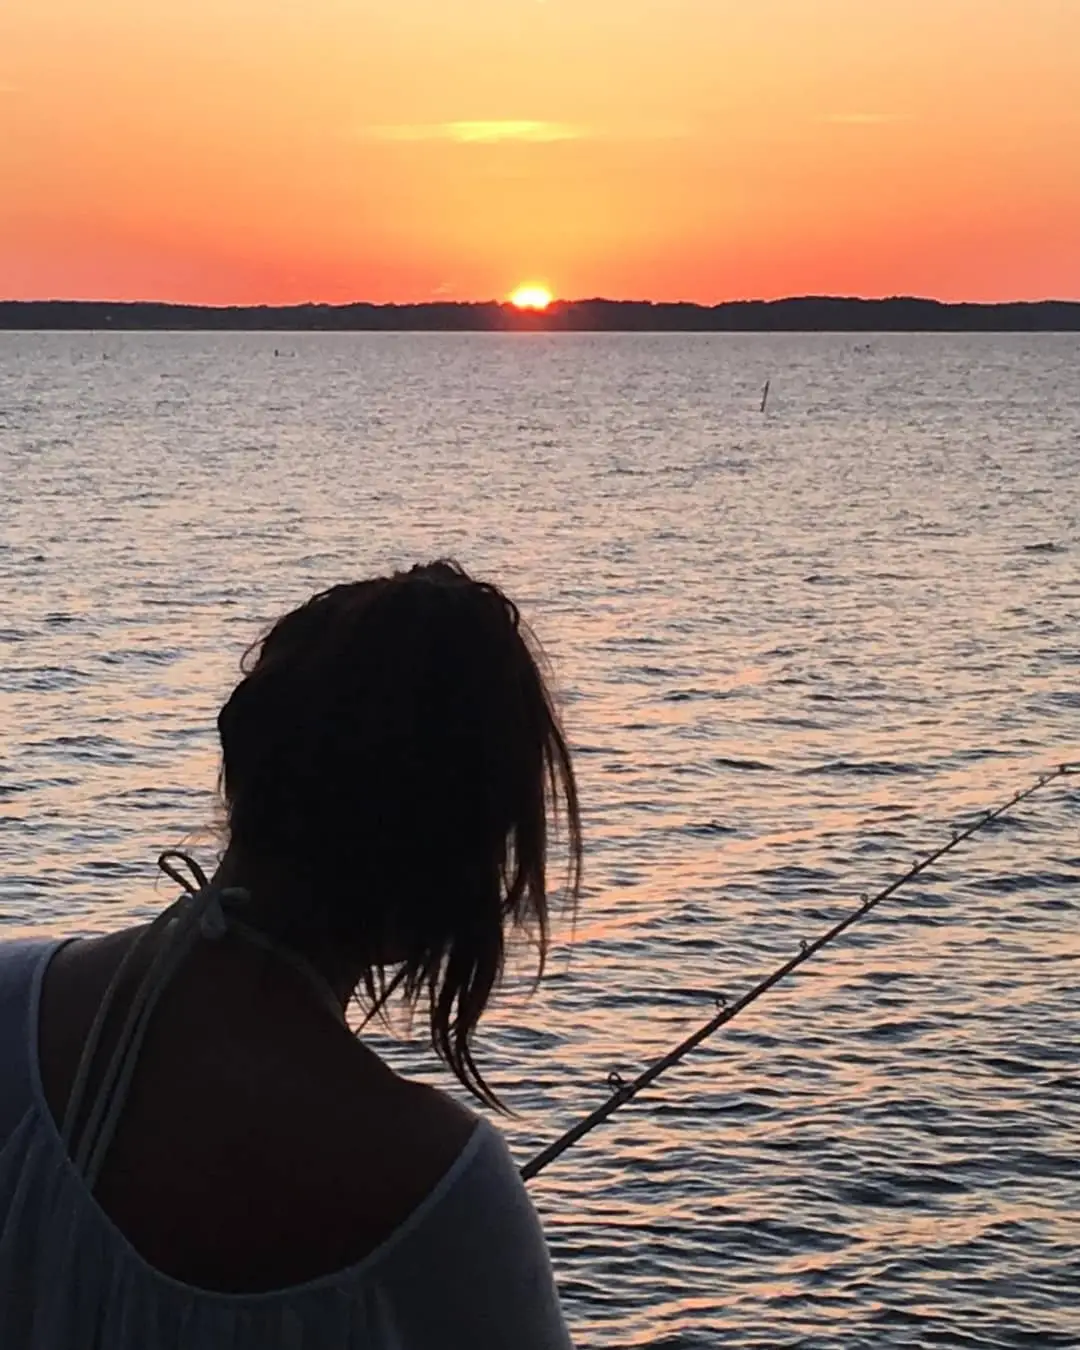
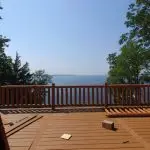
An amazing sunset captured by our guest this past weekend! This one is going into the Toledo Bend Sunsets hall of fame!
#toledobendcabins #toledobend #sunset #toledobendsunset
posted via instagram by toledobendcabin on Jul 16, 2018 @ 23:53

An amazing sunset captured by our guest this past weekend! This one is going into the Toledo Bend Sunsets hall of fame!
#toledobendcabins #toledobend #sunset #toledobendsunset
posted via instagram by toledobendcabin on Jul 16, 2018 @ 23:53
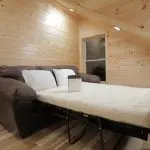
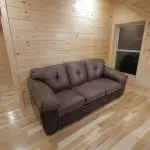
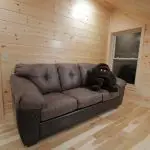
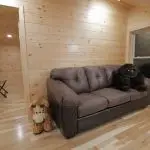
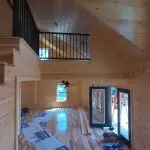
Say hello to our new, comfortable friend. We added a sleeper sofa to the upstairs. The Toledo Bend Cabin can officially sleep 8 adults and 2 kids now, bringing the total number of occupants allowed to 10. Whether you’re coming to relax, go jet skiing, or fish a tournament this cabin is among the best accommodations to be found on Toledo Bend.

Toledo Bend Cabin burger flippin’ just before sunset
#toledobendcabins #toledobendcabinrentals #toledobend #sunset
posted via instagram by toledobendcabin on Jul 10, 2018 @ 00:05
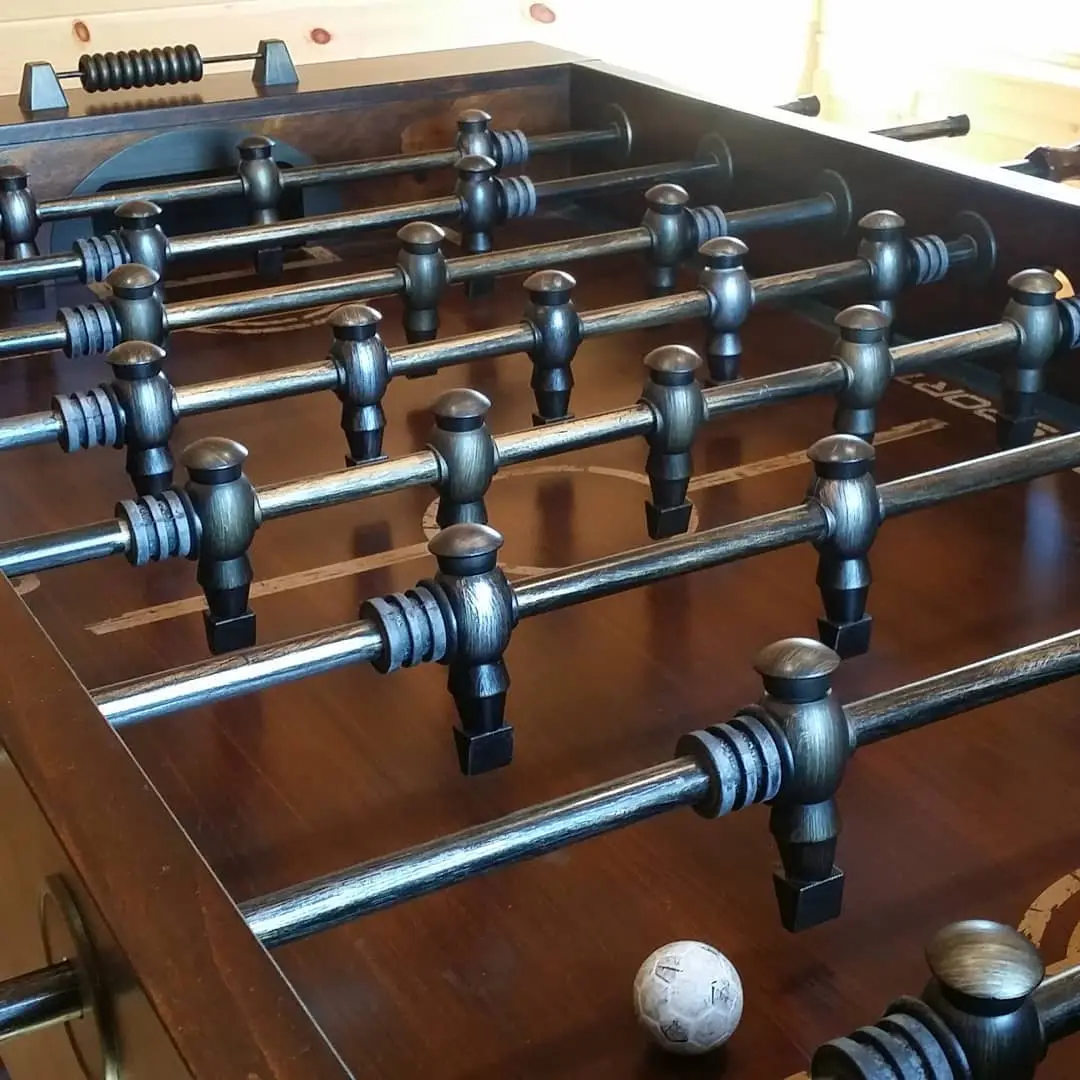
Game on! The Toledo Bend Cabin has a foosball table up in the game room.
#toledobend #toledobendcabins #toledobendcabinrentals #foosball
posted via instagram by toledobendcabin on Jun 28, 2018 @ 21:52
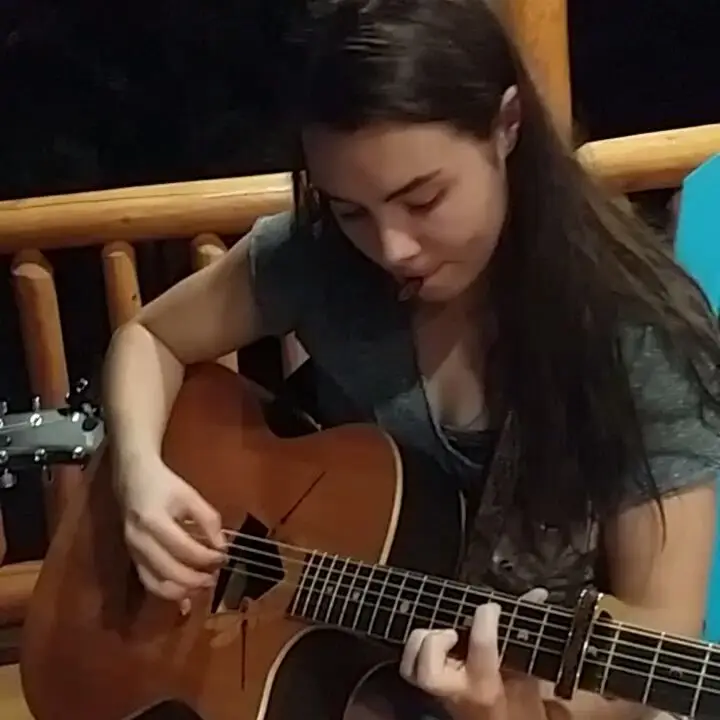
Front porch pickin’ at the toledo bend cabin
#toledobendcabin
posted via instagram by toledobendcabin on Jun 17, 2018 @ 02:53
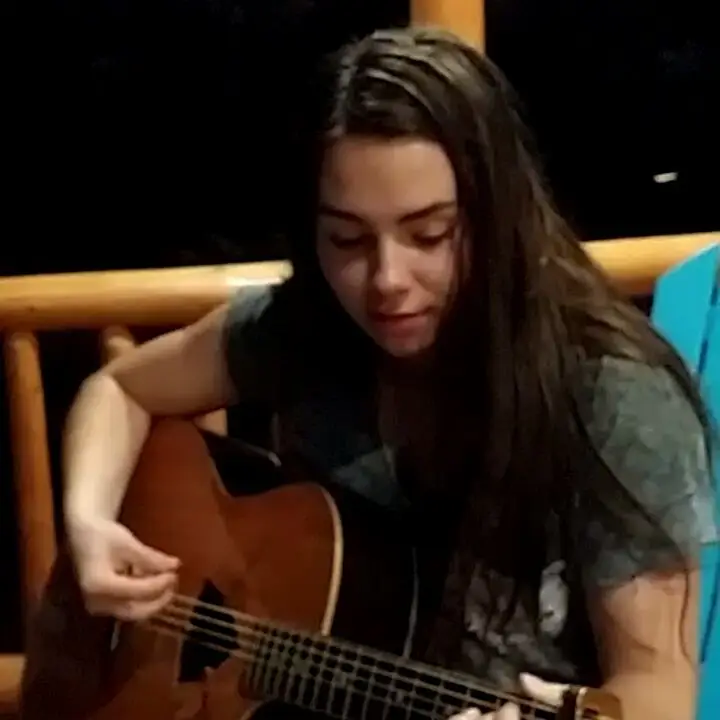
Jamming on the front porch of the Toledo Bend Cabin
#toledobendcabin
posted via instagram by toledobendcabin on Jun 17, 2018 @ 02:35
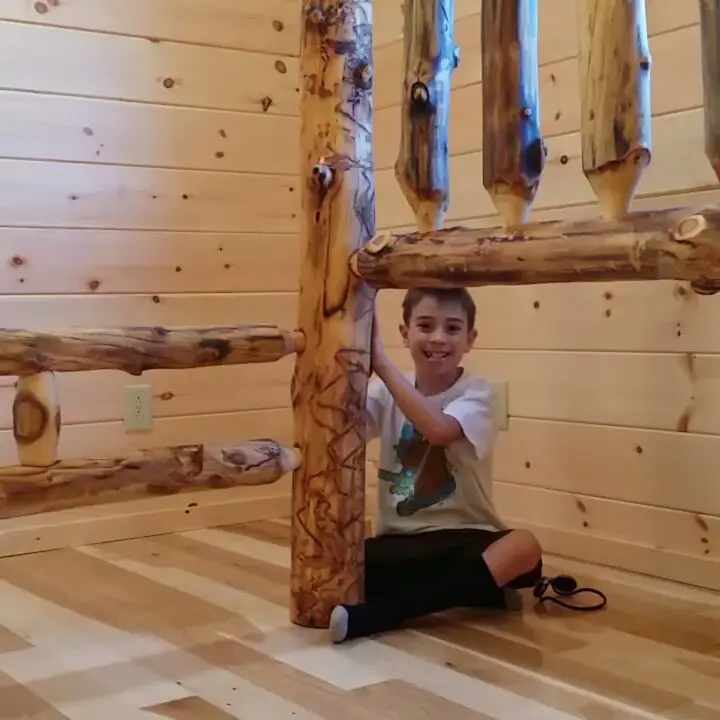
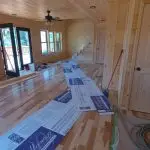
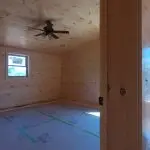
Beds came in. Our 8 year old is awesome at assembling them. All bedrooms will have king sized lodge pole beds.
#toledobend #toledobendcabins #rusticfurniture #toledobendcabinrental
posted via instagram by toledobendcabin on Jun 09, 2018 @ 20:37
We just ordered some furniture for the Toledo Bend Cabin today. We’re going to go with a rustic lakehouse type of theme. All three bedrooms will have king size aspen grizzly log bed whose frame looks like this:
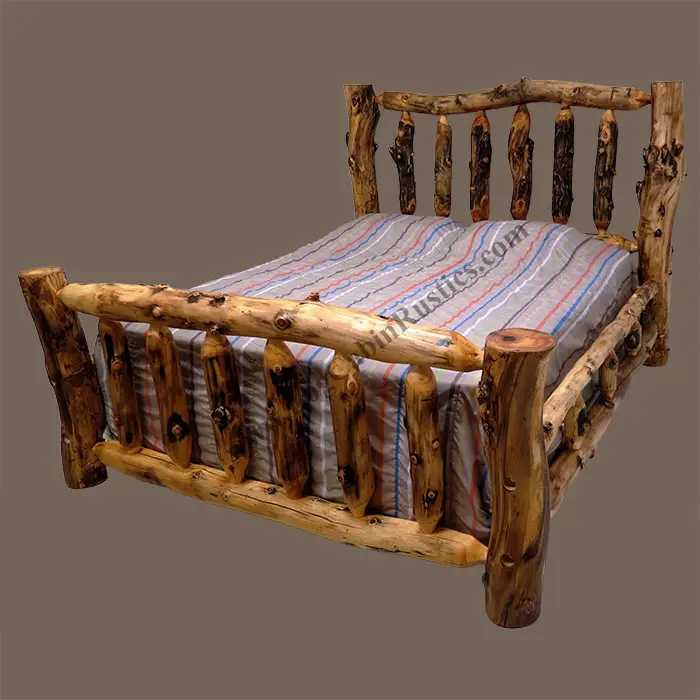
aspen grizzly log bed
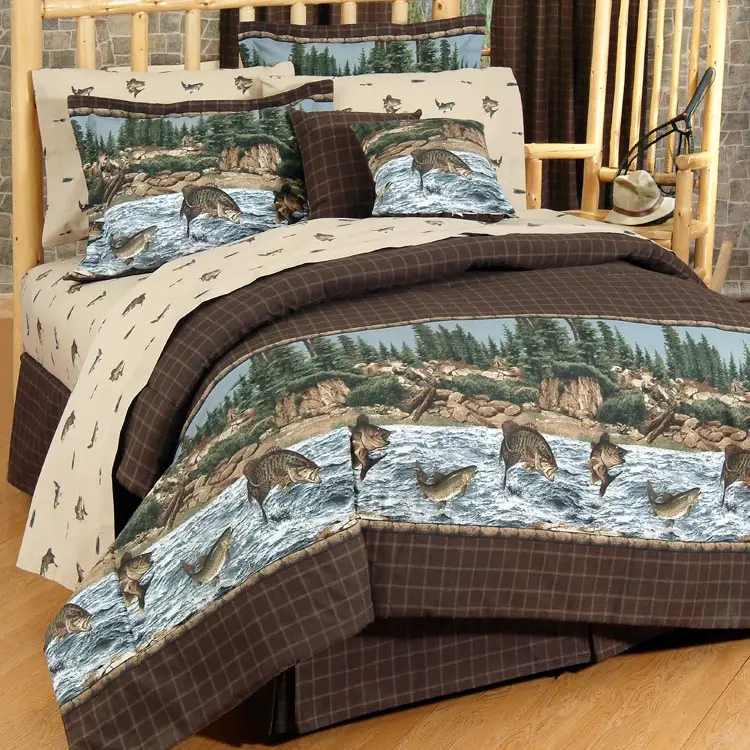
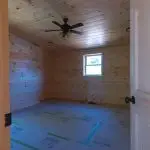
Bedroom 1 fish theme
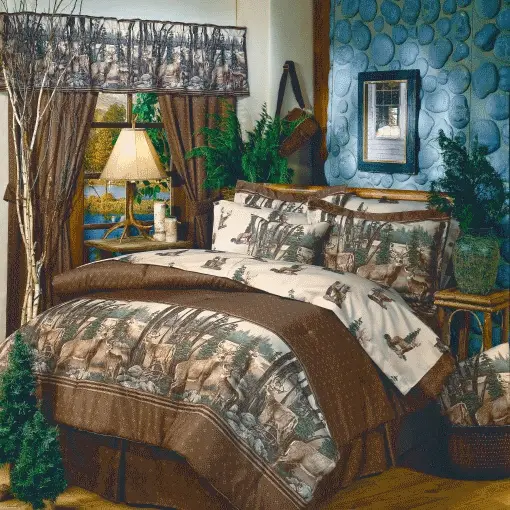
Bedroom 2 whitetail deer theme
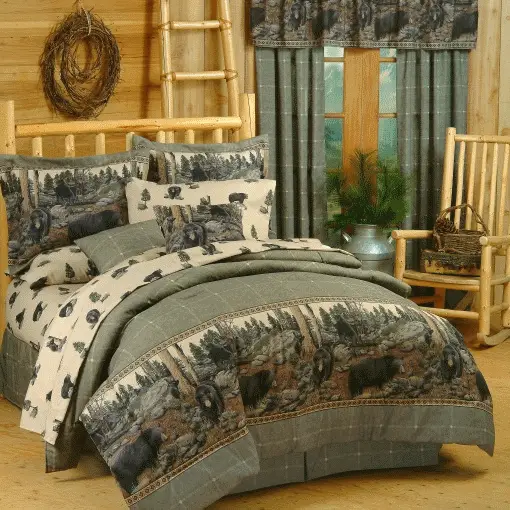
Bedroom 3 Black Bear
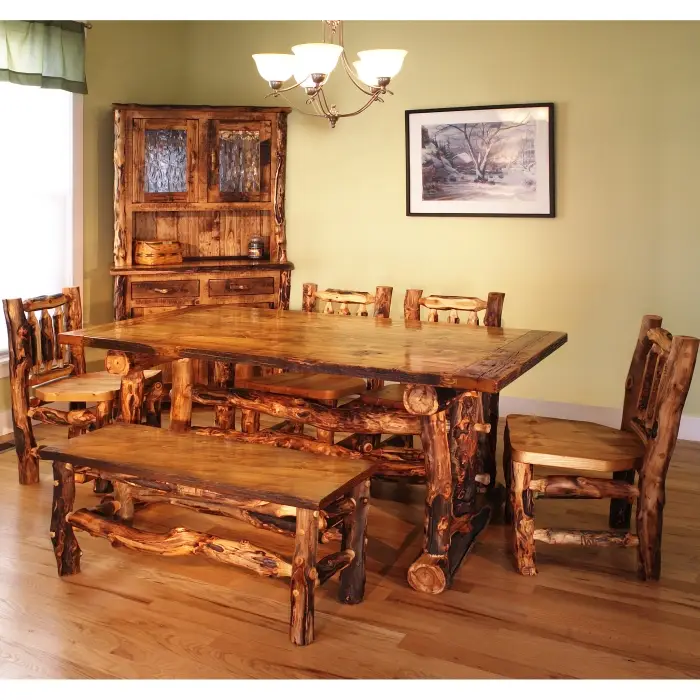
aspen wood dining table
If you would like to enjoy this and the rest of our amenities click here to reserve the Toledo Bend Cabin.
***
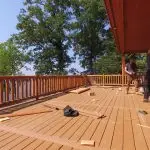
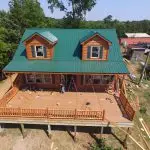
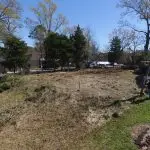
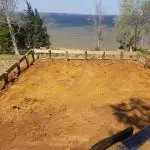
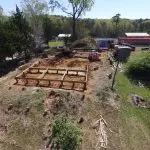
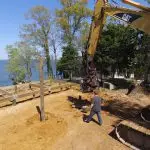
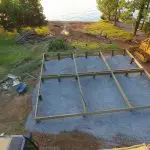
We cleaned the property some today as the finishing crew installed the deck on the cabin. It’s getting closer and closer to completion. Hopefully by mid June we can start accepting some rentals.
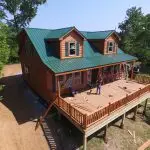

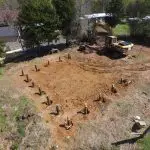
And this is where it all began over a year ago.
If you’re looking to build a house foundation on Toledo Bend you may have your work cut out for you, especially if you plan to build on the lakefont. Much of the soil around Toledo Bend is a sticky type of red clay that isn’t very friendly to your house foundation. Look around Toledo Bend and many of the homes have poor foundations. If you buy a home on Toledo Bend you might notice that many of the real estate agents want you to sign a waiver that waives your right to reverse the sale of the property if you discover later that the property has a bad foundation. Keep this in mind as you shop for homes on Toledo Bend, and I highly recommend never signing something that requires you waive your legal rights. If you need a real estate company that will look out for you in this regard I recommend contacting DeRidder LA Real Estate, LLC ( claimer: I am affiliated with this company ).
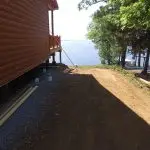
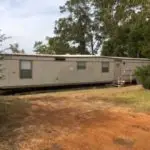
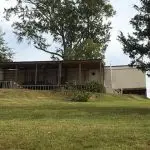
A couple of years ago I bought a lakefront property on Toledo Bend lakefront that has an old trailer on it. I gave the trailer to my friend because I wanted to put a log cabin on the property. Here is what it looked like back then:
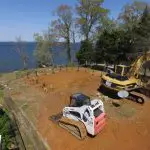
After getting the trailer off the property I ordered a soil boring truck on the property to collect information needed to engineer a foundation.

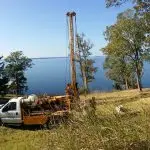
The data from the soil boring tests was quite discouraging. The first 8 feet of depth of my soil is a red clay that is fluid and unstable. During dry weather the clay shrinks and cracks. During wet weather the clay swells. If you have a piling foundation the piling can be pushed out of the ground by the clay. During dry weather the clay retracts from the piling. Then when it gets wet it swells around the piling and expands upward. The engineer who analyzed this for me explained this phenomena and said that he has seen whole houses pushed out of the ground by 12 inches as a result of this process!
Between 8-10ft depth beneath my soil surface is a vein of brittle iron ore that is pretty much useless. From 10-35ft the remainder of the soil is a fatty gray clay that is also pretty much useless for foundation purposes. No wonder so many house foundations on Toledo Bend are so jacked up! In order to build my house on Toledo Bend my engineering report called for 22 pilings driven into the ground by 25 feet! That is unheard of! Below is the actual engineering report for my soil. Please be advised that this soil report is only for my property. While your property may be similar please be advised that you need to get your own soil boring report to determine exactly what is under your soil surface.
soil boring tests for Toledo Bend Cabin
For the record, the company that did my soil boring test was Geotechnical Testing Lab Inc. Their phone number is
(318) 443-7429.
After I got my soil boring tests I used them to to design a pier and beam foundation. I contacted
Vincent-Shows Architects from Sulphur, LA. Their phone number is (337) 527-8137. Based on my soil report this is the foundation recommended for my property. Again, every property is different. This foundation is only for this property and load points associated with the house being put on this foundation.
Foundation plan for Toledo Bend Cabin

If you are thinking about building a new foundation or repairing on old one I hope this article helps you. Building a foundation correctly on Toledo Bend can be challenging, but the process of information gathering and engineering is interesting to say the least! This article is a recount of my experiences. It is not intended for legal or engineering advice. If you have any questions or comments please be sure to leave them below.